
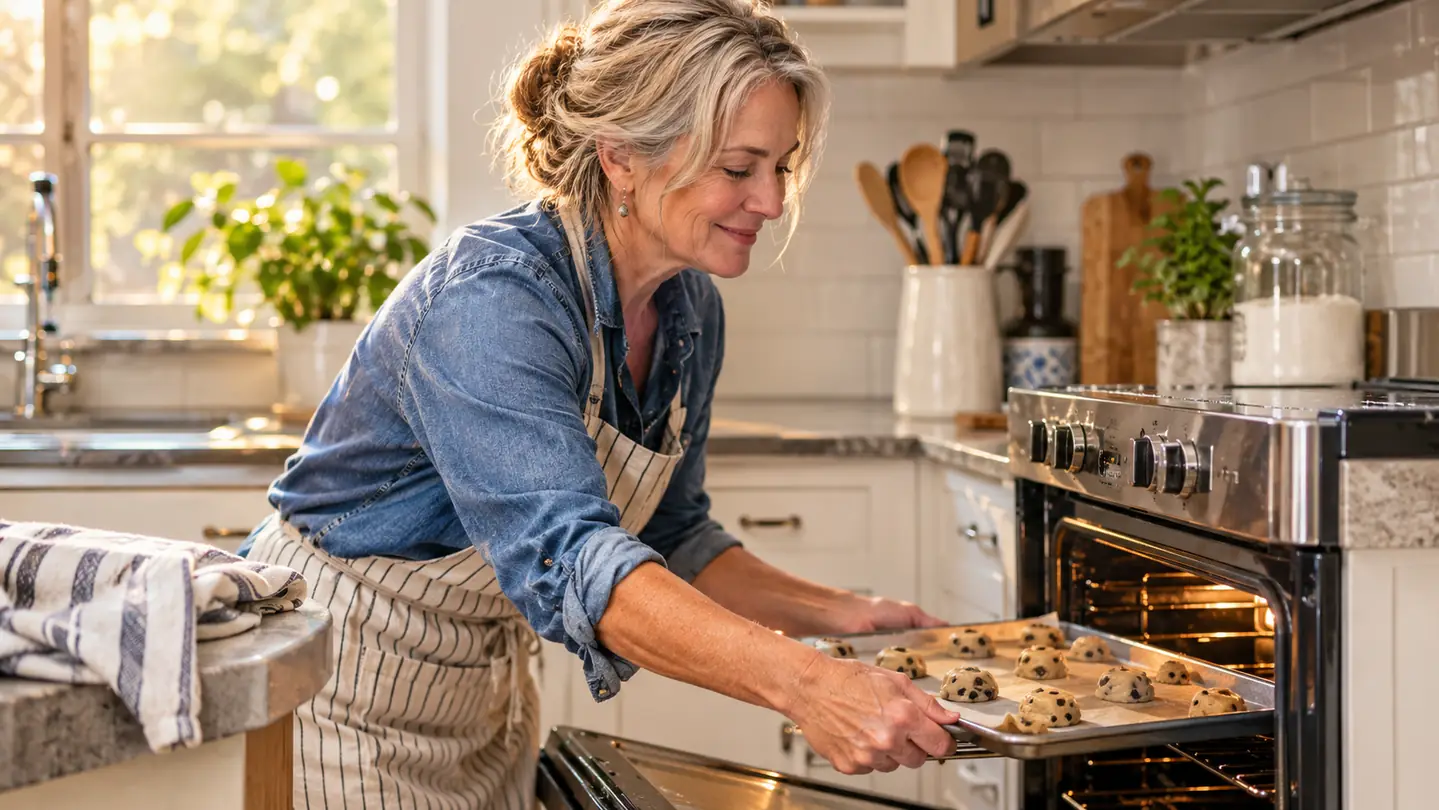
The first batch of chocolate chip cookies I baked in my own oven came out wrong in every direction. The tops were pale and soft and the bottoms were dark brown, almost black across the middle of the sheet, and they tasted like the bottom of a toaster. I had spent seven years in a hotel pastry kitchen before I left it at thirty-one, so I knew the dough was fine. The problem was the pan: a thin, dark nonstick cookie sheet that soaked up heat from the bottom element and pushed all of it into the base of every cookie before the middle had a chance to set.
Sixteen months ago I put those sheets in the trash and bought a 2-pack of Nordic Ware Naturals aluminum half sheet pans, the plain uncoated ones, 17.9 by 12.9 inches outside and 17.1 by 12.1 inches inside. The burnt bottoms stopped with the first batch. Same dough, same 30-inch electric oven in my Baltimore rowhouse. What follows is the five-step routine I use now, in the order I actually do it, plus the other things that matter once the pan has stopped working against you.
The pan that ended my burnt batch problem
Nordic Ware Naturals half sheets are bare aluminum, so heat spreads across the whole surface instead of concentrating under the cookies. The encapsulated galvanized steel rim keeps them flat through a hot oven, and the 17.1 by 12.1 inch interior holds a dozen three-inch cookies with room to spread. They will not rust. Buying the pair means one pan is always cool and ready for the next tray.
Amazon Check Today's Price on Amazon →Step 1: Look at what the pan is made of before you blame the dough
A cookie browns from the bottom up because that is where the heat is. In a normal home oven the bottom element cycles on and off a few inches below the lowest rack, and the pan decides how much of that heat reaches the dough and how fast. Dark nonstick coatings and thin steel absorb that radiant heat quickly and pass it straight through. The base of the cookie sets and browns while the top is still raw, so by the time the middle is done the bottom has gone past golden and into burnt.
Bare aluminum behaves differently. It conducts heat sideways across its whole surface, so the pan evens out the hot spots from the element instead of transmitting them straight up. The Nordic Ware pans are pure aluminum with an encapsulated galvanized steel rim, and that rim is the part that stops the warping. My old sheets used to buckle at 375 degrees and rock on the rack, which meant the back corner sat closer to the element and ran hotter than the front. A pan that stays flat bakes evenly from edge to edge. Mine have browned and discolored over sixteen months of steady weekend use, which is what bare aluminum does, and it has not changed how they bake.
What to look for is uncoated aluminum, flat when it sits on the counter, with a rim deep enough to hold a cookie that spreads more than you expected. The half sheet is 17.9 by 12.9 inches outside, so it fits a standard home oven with air moving on all four sides. The 1 inch rim contains the dough instead of letting it run toward the element, and it gives you something to grip with a dry towel when the pan comes out hot.
Step 2: Fix the heat the pan sits in
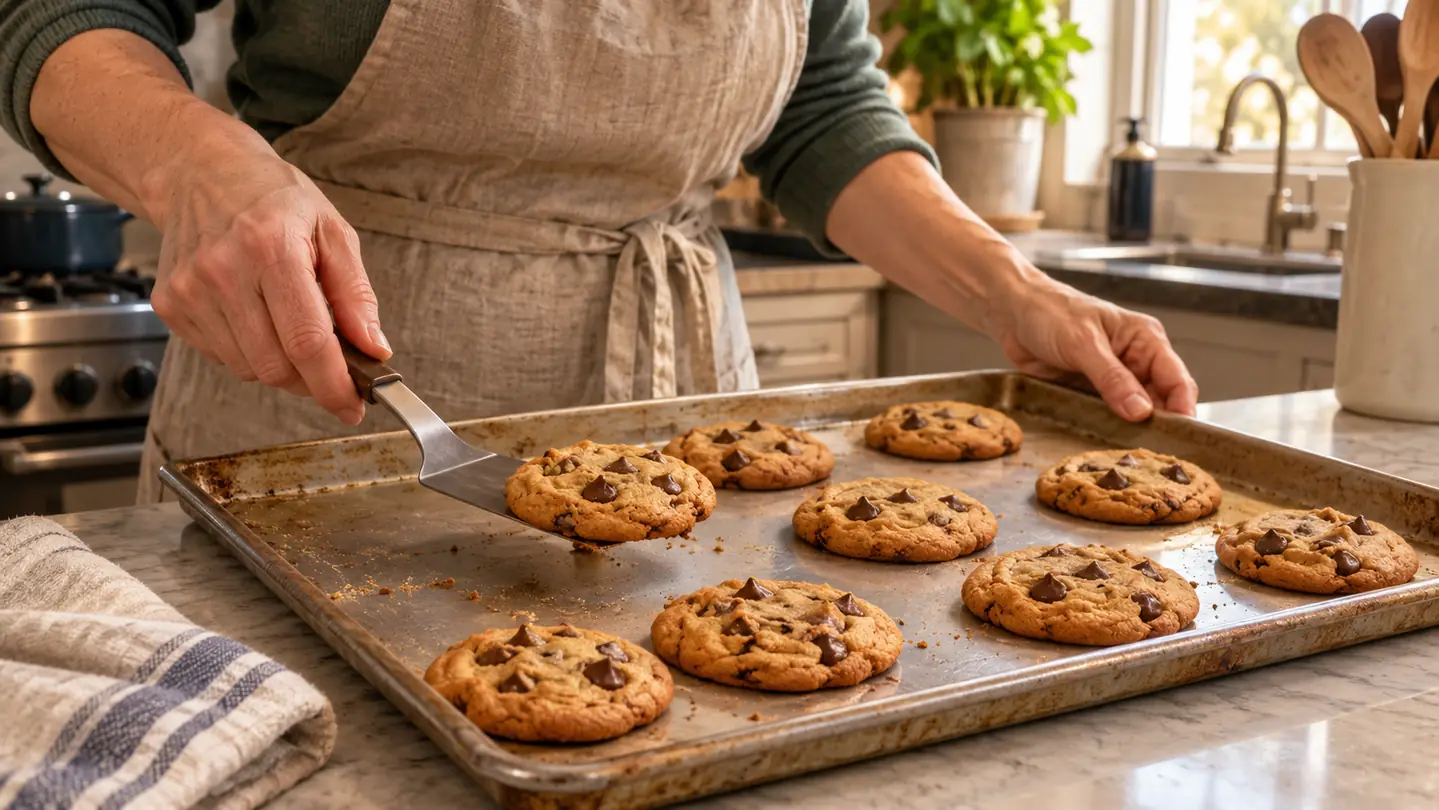
The pan is half the answer. The other half is where it sits and how hot the oven actually is. Put the rack in the middle and give the oven a full twenty minutes to preheat, because the dial reaching temperature is not the same as the walls and floor of the oven being saturated. If your cookies burn on a pan you trust, hang an inexpensive oven thermometer on the middle rack for one bake. Mine read about 25 degrees hot at the top of its cycle, which explained a lot of pale tops and dark bottoms over the years.
Bake one sheet at a time, in the middle. Two pans on two racks sounds efficient and it is the fastest way to get uneven browning, because the lower pan blocks heat from the upper one and the upper pan gets the direct radiant blast. Rotate the pan front to back halfway through the bake, but do not turn it end to end unless your oven is badly uneven, and do not open the door in the first six minutes while the cookies are still setting.
Never put a second batch onto a warm pan. The dough hits hot metal, the butter melts on contact, and the cookies spread thinner than the first tray and scorch faster. This is the real reason I bought the 2-pack: one pan in the oven, one cooling on the counter, alternating all afternoon. A spare cold pan is a better tool than a timer.
Step 3: Chill the dough and weigh the portions
Cold dough spreads more slowly. That sounds like a small thing until you watch a warm tray of dough turn into lacy puddles with edges that scorch before the center is set. Thirty minutes in the fridge is enough to firm the butter, and overnight is better because the flour hydrates and the flavor deepens. Bake straight from cold and add a minute or two to the time, then watch the first tray closely.
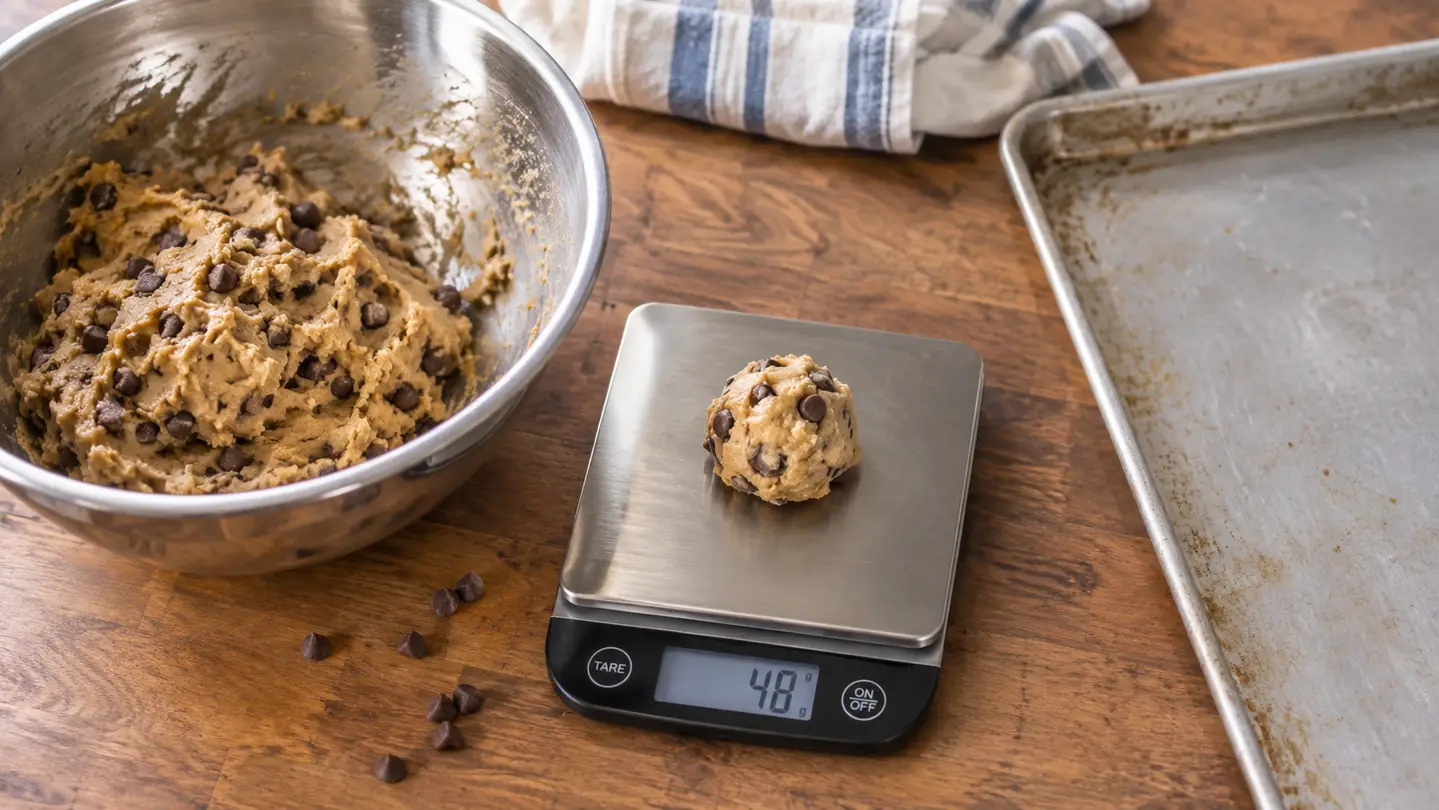
Weigh the portions. I use the Etekcity scale that lives flat in my pantry cabinet, and it takes about ten seconds to portion a tray at 30 grams each for a standard cookie or 55 to 60 grams for a big bakery-style one. Even sizes mean even bake times, which means you are not pulling the small ones early while the big ones sit there browning. On a half sheet, twelve portions of about 30 grams gives you a good inch and a half between cookies.
Keep the dough balls tall rather than flattened. A tall ball has more structure to fall through as it spreads, so the center stays thicker and protects the bottom from the direct heat. If a recipe tells you to press the balls down, skip that step the first time and see what your oven does on its own.
Same dough, same oven, same rack height. The week the bare aluminum pans arrived, the burnt bottoms stopped, and nothing else in the recipe changed.
Step 4: Choose the liner on purpose
Bare aluminum gives the crispest base and the most direct heat, which is what you want for a chocolate chip cookie with a chewy middle and a snap at the edge. Most cookie doughs need no greasing at all because the butter does that job, though a lean dough like a rolled sugar cookie benefits from a light swipe of butter or a sheet of parchment. Expect the pan to stain and darken where the sugar caramelizes. That is normal and it does not need scrubbing back to new.
Parchment is a thin layer of insulation. It buys you roughly a minute of browning time on the bottom and it lets you lift a whole tray onto the counter in one move, which is why I use it for pale, delicate cookies and for sugar cookie cutouts at Christmas. What it does not do is fix a dark pan. It slows the burn slightly, then the pan wins anyway.
A silicone mat insulates more than parchment, and I have baked on my sister Karen's enough times to know what that does. The cookies spread further, the bottoms come out pale and slightly greasy, and the edge never crisps the way it should. If your goal is a cookie with a browned base, the mat is working against you. Save it for something that needs a soft bottom.
Step 5: Pull them early and cool them on the pan
Take the tray out when the edges are set and lightly browned and the centers still look underdone, puffy, and slightly glossy. That is the moment. The cookies keep cooking on the hot pan for another few minutes, and the residual heat is what finishes the middle without pushing the bottom any darker. If you wait until the centers look done in the oven, the bottoms are already past where you want them.
Let them sit on the pan for three to five minutes, then move them to a rack. Leaving them for fifteen minutes traps steam underneath and softens the base you just worked for. Do not stack a hot pan on another pan or set it on a cold granite counter, because the sudden temperature change is what warps cheap bakeware.
Let the pan come back to room temperature before the next batch, and use the flat pan as your reference point. When a sheet stays flat, every cookie on it sees the same heat, so the ones at the back corner brown at the same rate as the ones in the middle. That consistency is the whole reason to replace a warped pan rather than keep rotating trays and hoping.
What Else Helps
Start checking at the low end of the recipe time and set a timer for two minutes before it. A batch that is right at eleven minutes and burnt at twelve gives you no margin, and margin is what you are buying with better heat control. Once you know your oven and your pan, write the real time on the recipe card.
Watch your butter and sugar. Butter creamed at cool room temperature, around 65 to 68 degrees, holds air and holds shape. Butter that is too soft makes a slack dough that spreads thin and burns at the edges. White sugar encourages spread, brown sugar holds moisture and spreads less, and once the flour goes in, mix just until it disappears. Every extra turn of the mixer builds gluten and firms the cookie in a way you did not intend.
Give the cookies space and give the oven space. Twelve on a half sheet is right for most doughs, and crowding them turns one tray into a single merged slab with burnt edges and a raw center. Keep the pan centered, keep the rack clear above it, and resist the urge to add a second tray below.
Care for the pans simply. Wash them by hand in warm soapy water, dry them right away, and skip the dishwasher, which dulls bare aluminum over time. Nordic Ware covers these pans with a lifetime limited warranty and they are made in the USA, which is why mine are still flat after sixteen months of near weekly use. If you bake cookies more than twice a month, the pan is the first thing to fix, before the flour, the butter, or the recipe.
One pan, twelve cookies, no burnt bottoms
If your cookie sheets are dark, thin, or warped enough to rock on the rack, replacing them is the simplest fix in the entire recipe. The Nordic Ware Naturals 2-pack is bare aluminum, warp resistant thanks to the encapsulated galvanized steel rim, and it will not rust. Mine are sixteen months in and still flat.
Amazon Check Today's Price on Amazon →