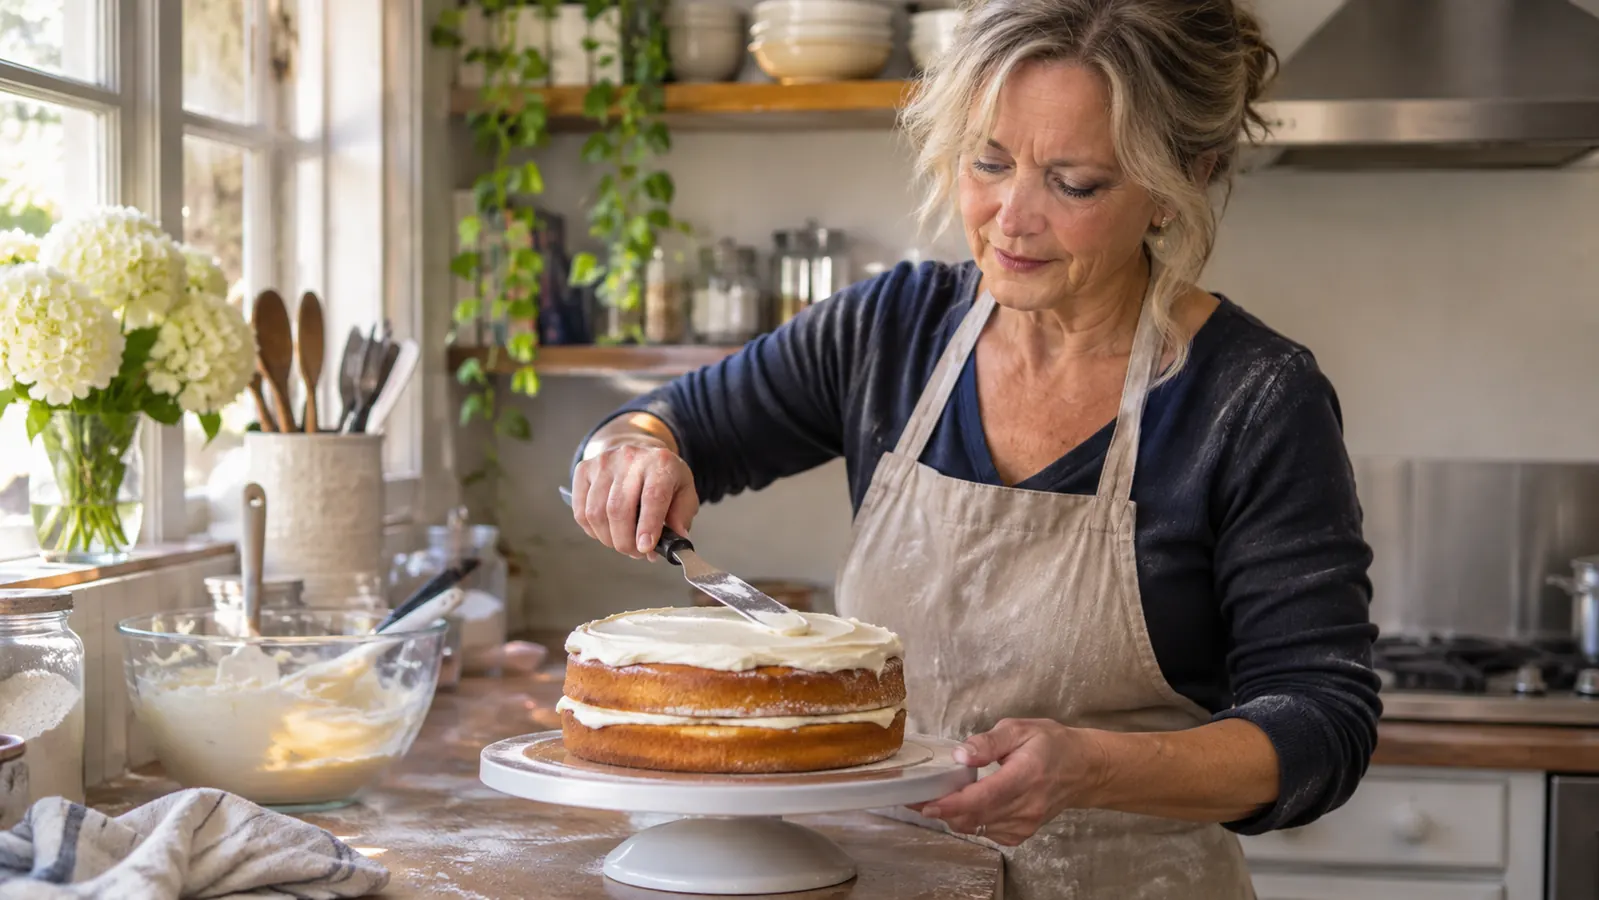
Most of my baking life, I frosted cakes on a dinner plate. I would dollop, spread, then shuffle sideways along the counter to reach the far side, dragging the plate with one hand and holding the spatula with the other. Every cake came out slightly lopsided, and not because my hand was unsteady. It was because I never approached the cake from the same angle twice. My wrist was fine. My geometry was not.
I spent seven years in a hotel pastry kitchen before I left for graphic design, and there the turntables were heavy metal discs set into the bench. At home I had six feet of counter in a Baltimore rowhouse and nothing of the kind. About a year ago, before my niece Maddie turned nine, I bought the Kootek 12-inch aluminum turntable. It did not make me faster. It made my spatula stay in one place while the cake came to it, which is the entire technique, and everything below is the order I actually do it in. If you have been fighting your frosting with wrist movements, this is the correction, and it takes one cake to feel it.
Your hand stays still. The cake does the moving.
The Kootek turntable spins a full 360 degrees in either direction, so you can carry a smoothing pass all the way around without lifting the spatula or walking the counter. Twelve-inch surface, rubber feet, non-slip top. Mine lives on a pantry shelf between bakes.
Amazon Check Today's Price on Amazon →Step 1: Chill the cake and lock everything down
A warm cake is a cake that moves. If the layers are still giving off heat, the frosting slides, the crumb coat never firms, and no amount of spinning will save it. I bake the layers the day before, wrap them once they are fully cool, and refrigerate them overnight. Cold cake holds its shape under a spatula, and the frosting sets against it instead of soaking in. This one habit removes more trouble than any tool I own.
Level the top before anything else. A domed layer puts a thick pad of frosting in the middle and a thin scrape at the edges, and you will chase that unevenness for twenty minutes with a spatula in each hand. A long serrated knife and your eye are enough. Hold the blade flat, saw gently, and save the trimmings in a bowl for the person doing the dishes.
Then set the cake on a board and set the board on the turntable. A smear of frosting under the board acts as glue, and without it the board will skate sideways the first time you press a blade against the cake. The Kootek has a non-slip surface and rubber feet, and at 2.36 kg it stays where you put it rather than walking across the counter mid-pass. It stands 3.77 inches tall, which matters more than you would expect: that height should bring the top edge of the cake to roughly wrist level, not up near your shoulder. If your counter is high or you are short, as I am, a cutting board under the stand is sometimes the difference between a comfortable arm and a tired one.
Step 2: Crumb coat thin and let it set
The crumb coat is not frosting. It is a thin, slightly translucent layer whose only job is to trap loose crumbs so the final coat can be clean. Spread it thin enough that you can still see the cake through it in places. If you cannot see any cake, you have put on too much, and you will spend the next step fighting the excess instead of smoothing it. This is the mistake I still make when I am in a hurry.
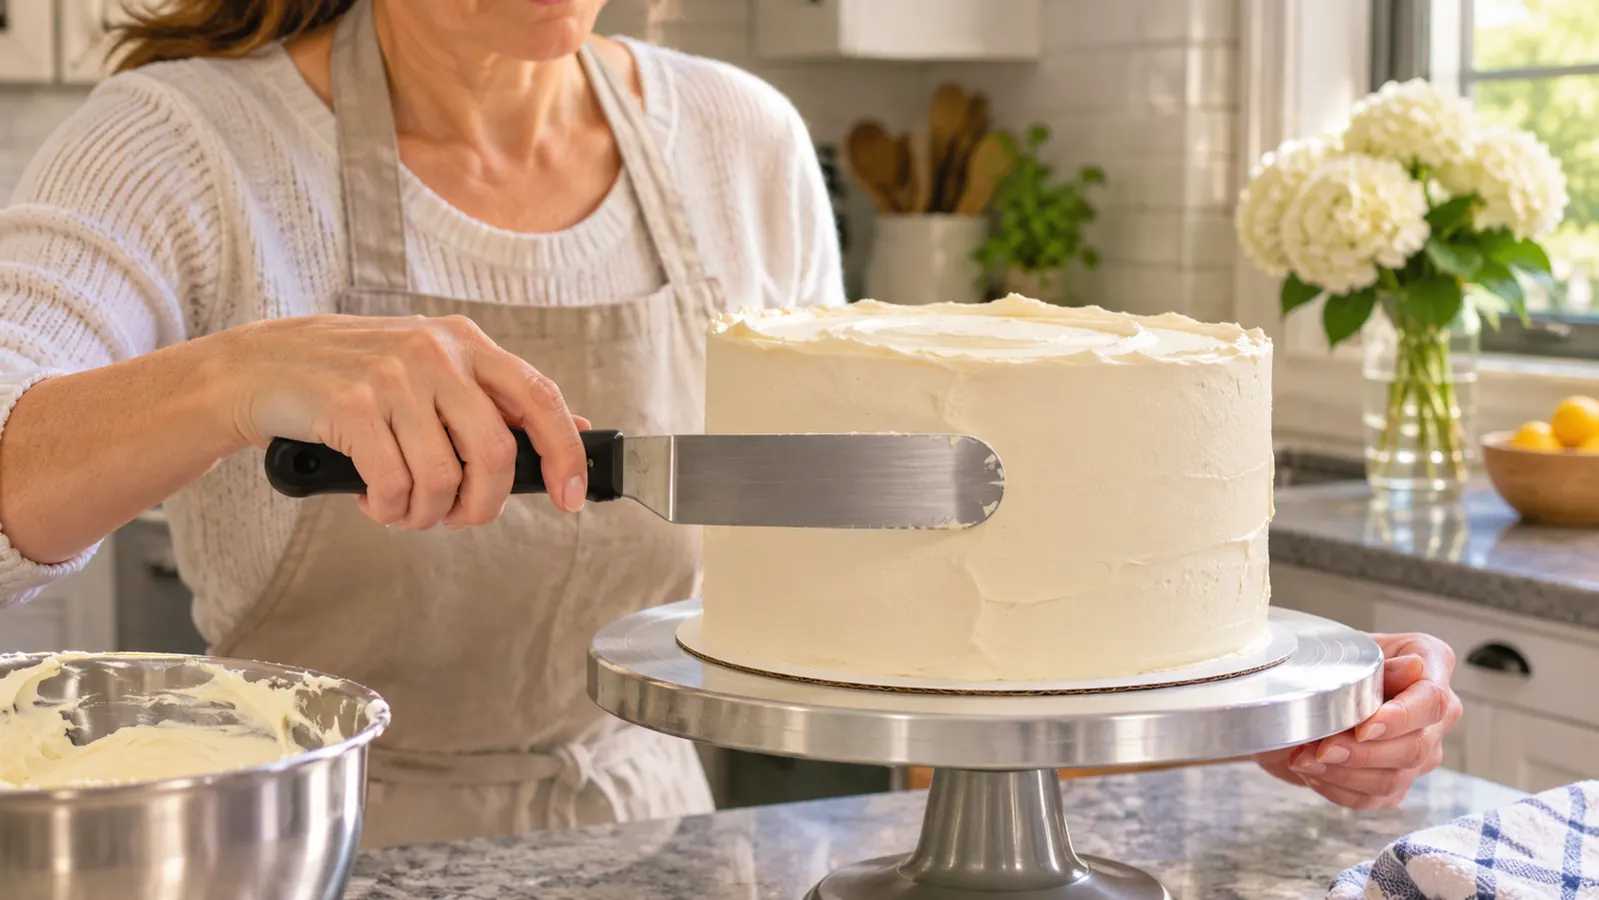
Load an offset spatula with a modest amount and work around the sides with the stand turning slowly. Push the frosting ahead of the blade rather than dragging it back and forth; dragging lifts crumbs and folds them in. Do the top last, pulling inward from the edge so you do not build a ridge at the rim. Then refrigerate the cake for twenty to thirty minutes, until the surface feels firm and dry to a light touch. Cold crumb coat is the entire difference between a clean finish and a grey one.
Use that waiting time to make the batch of frosting you will actually need, and make a little more than you think. Running short halfway around the final coat means lifting the spatula, reloading, and leaving a seam exactly where you did not want one. Frosting scraped back off the cake can go back in the bowl for a crumb coat, but never for the finish.
Step 3: Build the sides with the spatula, not your wrist
Here is the mistake I made for years. I tried to smooth the cake with small wrist movements, the way you spread butter on toast, and on a turntable that produces ripples. The tool rewards the opposite approach. You hold the spatula nearly still against the side and let the stand do the traveling. Your wrist stops being the mechanism and becomes a bracket.
Start with the spatula vertical, tip resting lightly against the cake board or the stand just below the cake, blade flat against the side. Spin the turntable with your other hand, slowly and evenly. The frosting is pushed into a uniform band as the cake passes the blade. Repeat in the same direction until that band closes all the way around, then add a small amount where it looks thin and go again. Two or three rotations will do it. Ten will not make it better.
The Kootek turns a full 360 degrees clockwise or anticlockwise, which sounds like a small feature until you are left-handed or working from the far side of a narrow counter. I turn anticlockwise for the sides because it lets me pull the spatula toward myself, and clockwise when I switch hands to reach past the sink. Both directions feel the same on this stand, with no catch, wobble or grinding at the turn. That is not true of the plastic stand I borrowed from my sister Karen one Christmas, which had a hitch in it every quarter turn and left a mark in the frosting wherever it caught. Watching that hitch is how I decided what to look for.
A turntable does not make your hand steadier. It removes the need for a steady hand, because the cake comes to the blade instead of the blade chasing the cake.
Step 4: Make one continuous smoothing pass
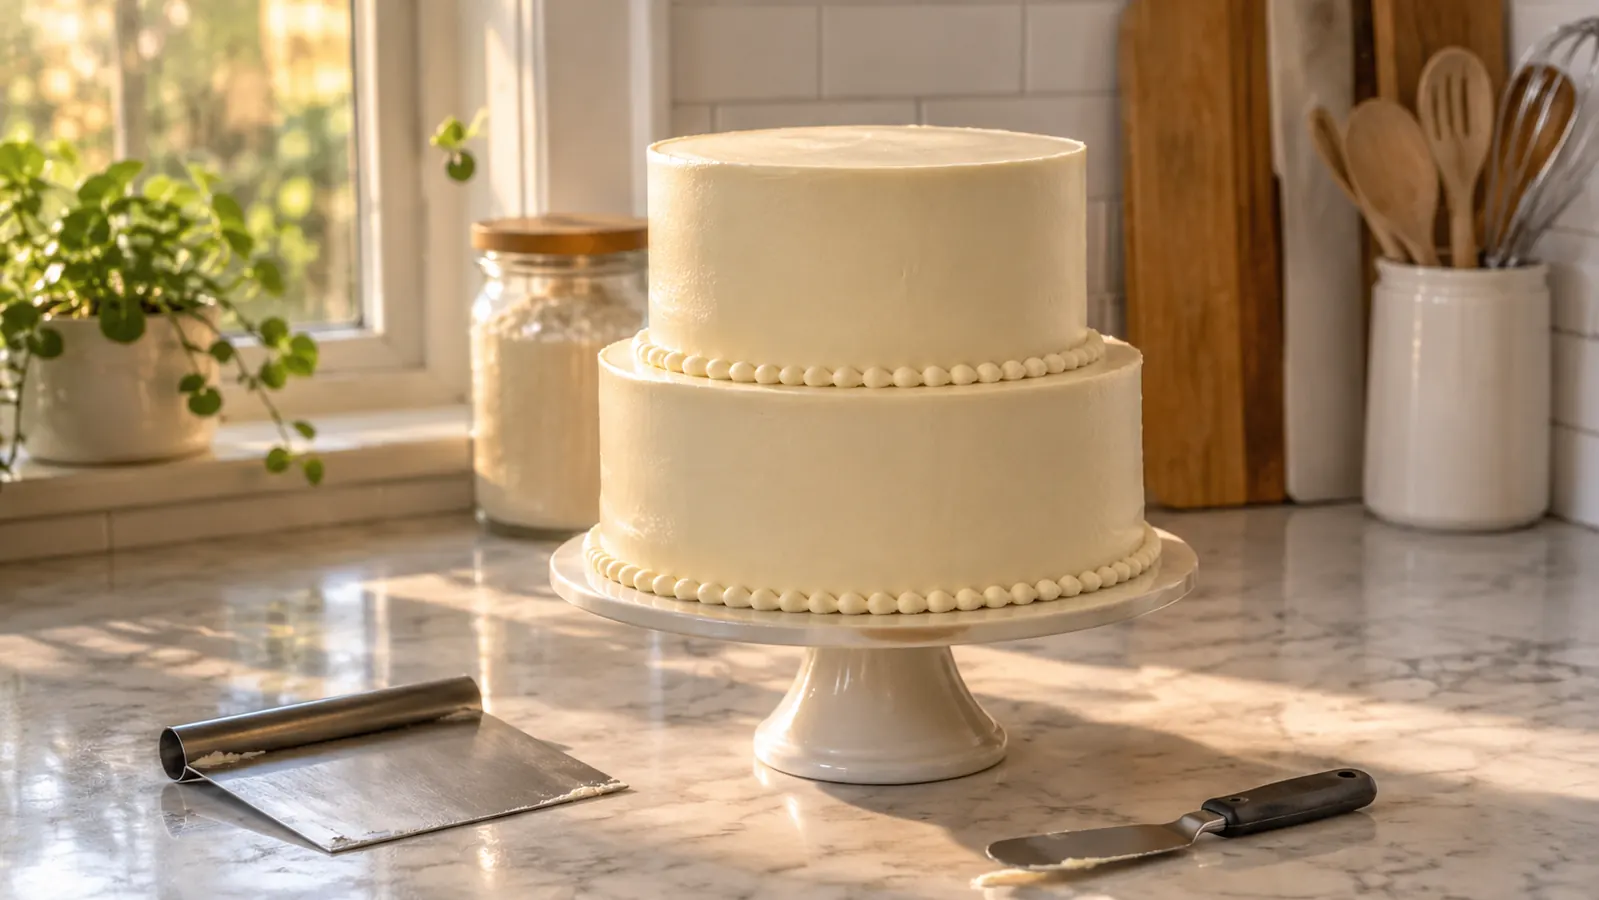
Once the sides are covered, do a single slow full rotation with the spatula held at a slight angle, tip toward the board. One pass. Do not stop halfway to check your work, do not lift to inspect the top, do not go back and forth over the same patch. Stopping mid-rotation leaves a seam, and you will still see that seam in raking light after the cake is finished and the dishes are done. Commit to the full circle.
Speed matters less than consistency. A fast spin with a jerky hand gives you chatter marks, a series of shallow ridges you then have to flatten. A slow, even turn gives you a surface that needs almost no repair. Wipe the blade clean before each new rotation. Frosting that has picked up crumbs from the blade will streak the entire side, and once a crumb is in the finish coat you cannot pick it out without making a divot.
Work the top last. Hold the spatula almost flat, blade just above the surface, and turn the stand while drawing the blade slowly inward from the outer edge to the center. That pulls the excess toward the middle where you can lift it off cleanly, instead of pushing it over the rim and down the side you just finished. If the top is already at the right level, one slow pass with a clean blade is all it needs.
Step 5: Finish the edge and clean the board
The final pass is the one people skip and then wonder why the cake looks homemade in the wrong way. Warm the blade under hot running water, dry it completely, and make one unhurried rotation against the side. Warm metal glides. Cold metal drags a fine texture into the surface that you cannot see until the cake is on the table. Dry the blade every single time, because a wet spatula leaves water spots, and water spots become small craters as the frosting sets.
Then deal with the rim of the board. Wipe it with a damp paper towel while the frosting is still soft, running your finger along the top edge of the cake just above the wipe so you do not gouge into the side. Frosting that has set overnight on the board needs a paring knife and a steady hand, and you will not be pleased about it in the morning when everyone is already at the table.
Serve the cake at room temperature if it is going out within a few hours. If you refrigerate it, let it come back up for about an hour before slicing, because cold cake tastes of almost nothing and the texture goes tight and crumbly. This has nothing to do with the turntable and matters more than any spatula in the drawer.
What Else Helps
A turntable solves rotation. It does not solve the tools in your hand. A 6-inch stainless bench scraper with 1-inch markings is the best companion for the sides, because a straight edge held vertically against a turning cake flattens a surface faster than a flexible spatula can, and the markings let you check that the cake is the same height all the way around as you go. I bought mine about 18 months ago and it earns its hook on the cake work as much as on bread dough. An offset spatula with a thin, flexible blade is the other half of the pair; thin blades follow the curve of a cake and thick ones fight it.
Beyond tools, the biggest variable is the cake itself. A level, cold, properly built layer needs very little smoothing. A domed, warm one will fight you no matter how good the stand is, and no amount of spinning will fix a layer that was never level to begin with. If you take one thing from this, take the chilling. It costs you nothing but time, and it is the step most home bakers cut.
On storage, the honest answer: the stand is 12 inches across and it does not fold, which in a galley kitchen is the real question. Mine lives on the top shelf of the pantry, above the sheet pans, and comes down roughly twice a month. That is the trade. It occupies a shelf, and in exchange you stop walking in circles around your own counter with a spatula in the air. For the cakes I make, from Maddie's birthday layer to the brownies going to the church bake sale, I would buy the Kootek again without thinking about it.
One less thing to fight with on the next birthday cake
Aluminum stand, 12-inch surface, full 360-degree turn in either direction, rubber feet that keep it planted while both your hands are busy. It has been on my pantry shelf for a year and has not slipped once mid-pass.
Amazon Check Today's Price on Amazon →