
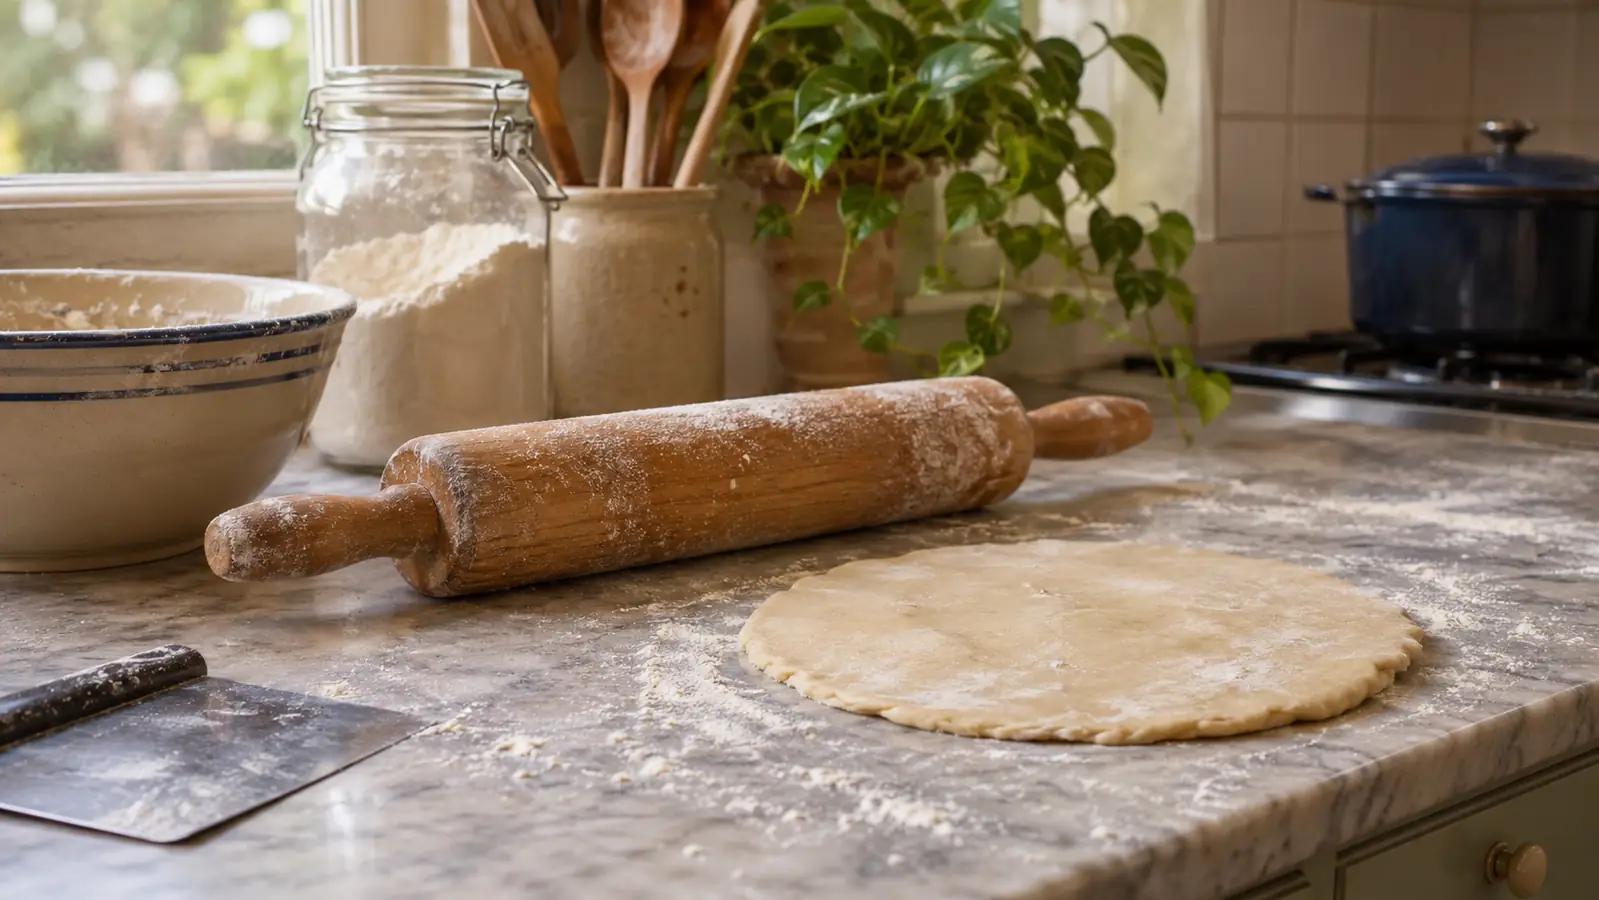
The first pie dough I ever rolled in a professional kitchen came out looking like a map of a lake. Thin through the middle where my palms had pressed too hard, ragged at the edges, and a hole in one spot you could read the counter through. The pastry chef looked at it, then at me, and said the problem was not my hands. It was that I was rolling the dough instead of rolling the pin. I have thought about that sentence for close to thirty years. These days I bake in a narrow galley kitchen in Baltimore with about six feet of counter, and the pin that lives in the drawer under the oven is a Farberware classic wood rolling pin, 17.5 inches end to end and about a pound of hardwood. It has taught me more about evenness than any recipe ever did.
If your crusts come out thick in the middle and thin at the edges, or the round turns oval the moment you start, the dough is usually not the culprit. The pressure is. Your hands land in the middle of the pin and push down hardest there, and a light pin sends every bit of that straight into the dough. Add a little warmth from your palms, a counter that is not quite floured enough, and a round you never turn, and you get a crust that bakes unevenly, slumps at the rim, and tears when you try to lift it. What follows is the sequence I use, in order, with the reason behind every move. It takes about ten minutes once the dough is chilled.
A pound of hardwood beats a heavy hand
The Farberware classic wood rolling pin is 17.5 inches long and balanced end to end, so the barrel stays level across the round instead of tilting and thinning one edge. Moisture-resistant hardwood gives a smooth surface that lets dough release instead of dragging.
Amazon Check Today's Price on Amazon →Step 1: Press the Dough Into a Flat Disc Before It Ever Meets the Pin
Even thickness starts before the pin touches anything. When you finish mixing pie dough you have a shaggy mass with cold butter streaks running through it, and the instinct is to gather it into a ball and chill it. Do not. Gather it, then press it into a disc about an inch thick, wrap it, and chill it for at least an hour. A disc chills evenly from the outside in. A ball chills hard on the surface and stays soft at the center, which means the pin has to solve a temperature problem and a thickness problem at the same time, and it will lose that fight.
Take the disc out ten to fifteen minutes before you roll. Press the heel of your hand into it. It should feel cool and give slightly, the way a cold block of butter gives. Not hard, not soft. If the edges crack when you press, it needs five more minutes on the counter. If it smears and feels greasy under your palm, it needs five minutes back in the refrigerator. That single check will save you more grief than any trick later in the process.
Step 2: Set the Pin, the Flour and the Scraper Within Reach
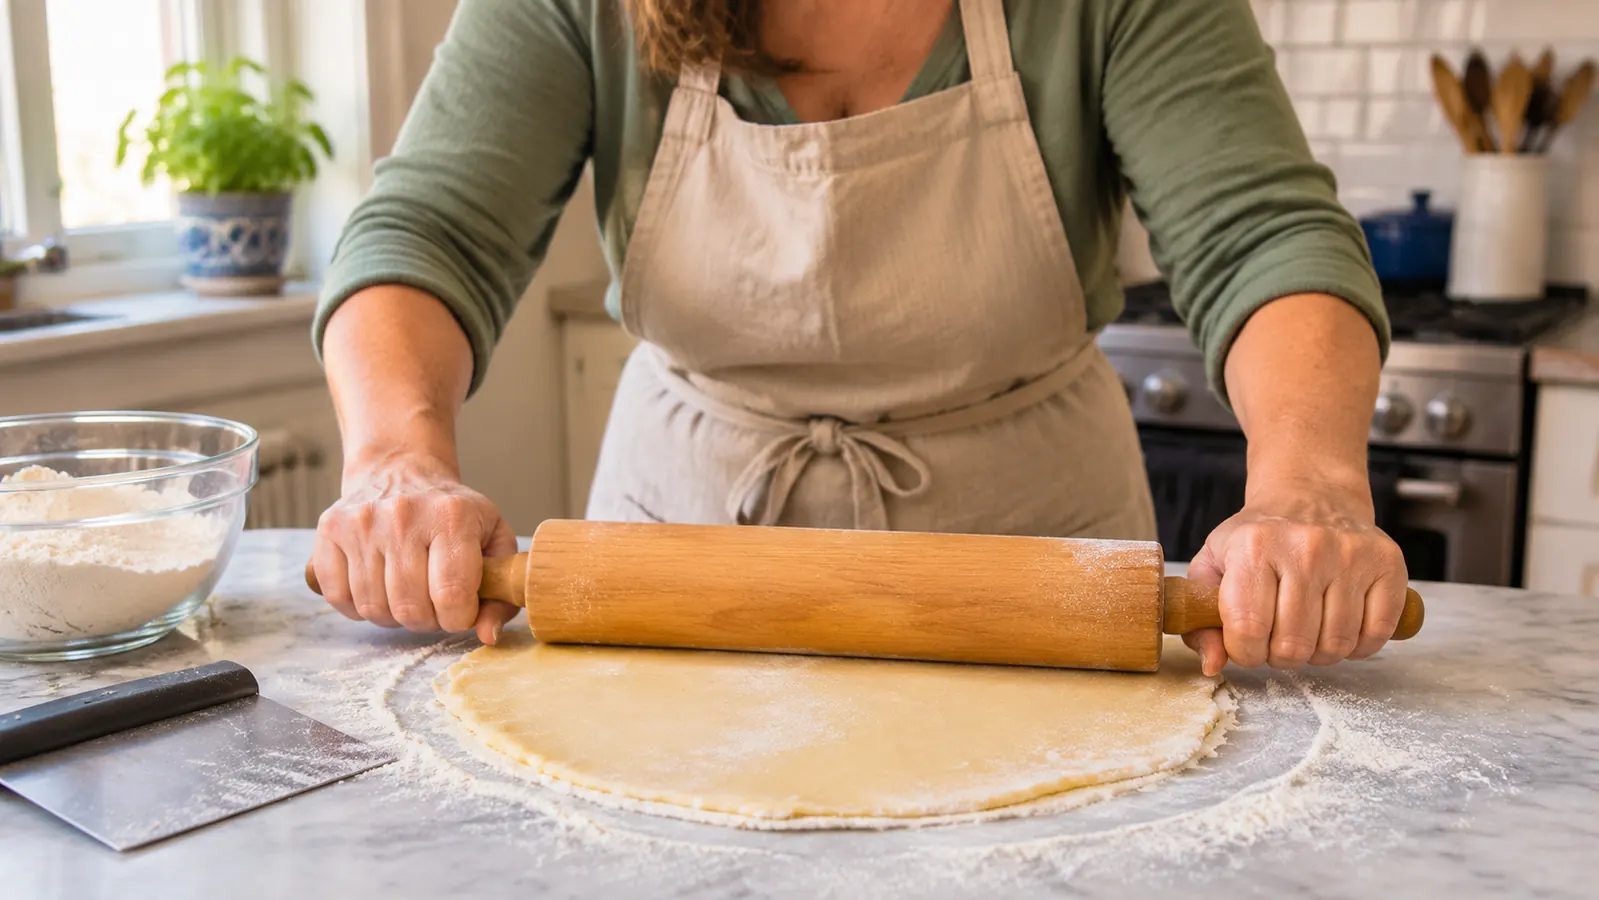
Clear a stretch of counter at least two feet wider than the finished round. You want to turn the dough a full quarter turn without hitting a canister. Put a small bowl of flour to one side and your bench scraper to the other. Mine is a 6-inch OXO with a soft handle and it earns its keep in this step. You will use it to lift the round, to scrape the counter clean, and to cut a patch from the trim.
Now the pin. The Farberware pin is 17.5 inches long and weighs about a pound, which matters more than it sounds. A heavy pin presses for you and flattens the dough faster than you can steer it. A light one lets you feel the dough through the wood. The specially designed handles keep your wrists straight, so the pressure comes from your shoulders instead of your fingertips, and they cut hand fatigue on a day when you are rolling three crusts in a row. Because it is balanced end to end, the barrel stays level across the round instead of tilting down at one side and thinning that edge.
Rub a pinch of flour along the barrel, then knock the excess back into the bowl. Moisture-resistant hardwood takes a thin film of flour and releases the dough cleanly. What you are avoiding is the other kind of flouring, where you bury the counter so the dough slides around like a puck on a table. Dough that slides cannot be rolled evenly. Dough that sits still can.
Step 3: Roll From the Middle Out, and Turn the Dough a Quarter Turn Each Time
Set the pin across the middle of the disc. Roll away from you to the far edge, come back to the middle, and roll toward you to the near edge. Lift the pin, turn the dough a quarter turn, and do it again. Away, back, turn. Away, back, turn. Think of the disc as a clock face and work your way around it. Eight or ten of these passes will take a chilled disc from an inch thick to an eighth of an inch, and every part of it will have been rolled the same number of times.
Keep your hands on the handles, palms over the ends, and push with the heel of your hand rather than your fingertips. Straight wrists, elbows slightly bent, and let the pin's own weight start the movement before you add anything to it. The push is short and even, and it stops before the pin runs off the edge. Long strokes that finish past the dough do nothing for the middle and thin the rim, which is exactly backwards from what most people intend.
The reason for turning is simple geometry. The pin only presses where it touches. If you roll back and forth in one direction without turning, the middle takes every stroke and the edges take almost none, and your round becomes an oval with a thin center. If you turn and always roll through the middle, the round stays round and the thickness stays even. If your dough looks like an oval after six strokes, you have your diagnosis and it is not the flour.
Step 4: Read the Thickness With Your Fingertips, Not Your Eyes
Sight is unreliable here, because flour and shadow both lie. Use your fingers. Press two fingertips a few inches in from the edge, then in the center. They should feel the same. For a single crust I aim for about an eighth of an inch, roughly the thickness of two stacked quarters. For the bottom of a wet fruit pie, like the apple pie I make every Thanksgiving, I go slightly thicker through the middle and thinner at the rim, since the filling weighs the center down while it bakes.
Run the scraper under the edge every few passes to make sure nothing has stuck. A round that is half stuck tears when you lift it, and the tear always lands exactly where you least want it. If you find a thin spot, leave it alone and keep rolling the thick areas around it. If you find a tear, cut a patch from the trim, wet the edges with a fingertip of water, and press it in. A patched crust bakes and tastes the same as an untouched one.
If the dough starts to fight back, springing away from the pin and shrinking when you stop, it has warmed up. Slide the whole round onto a sheet pan and put it in the refrigerator for ten minutes, then pick up where you left off. Warm dough is the most common reason a round comes out uneven, because the pin sinks into it instead of gliding across the top.
Step 5: Lift the Round With the Scraper and Ease It Into the Plate
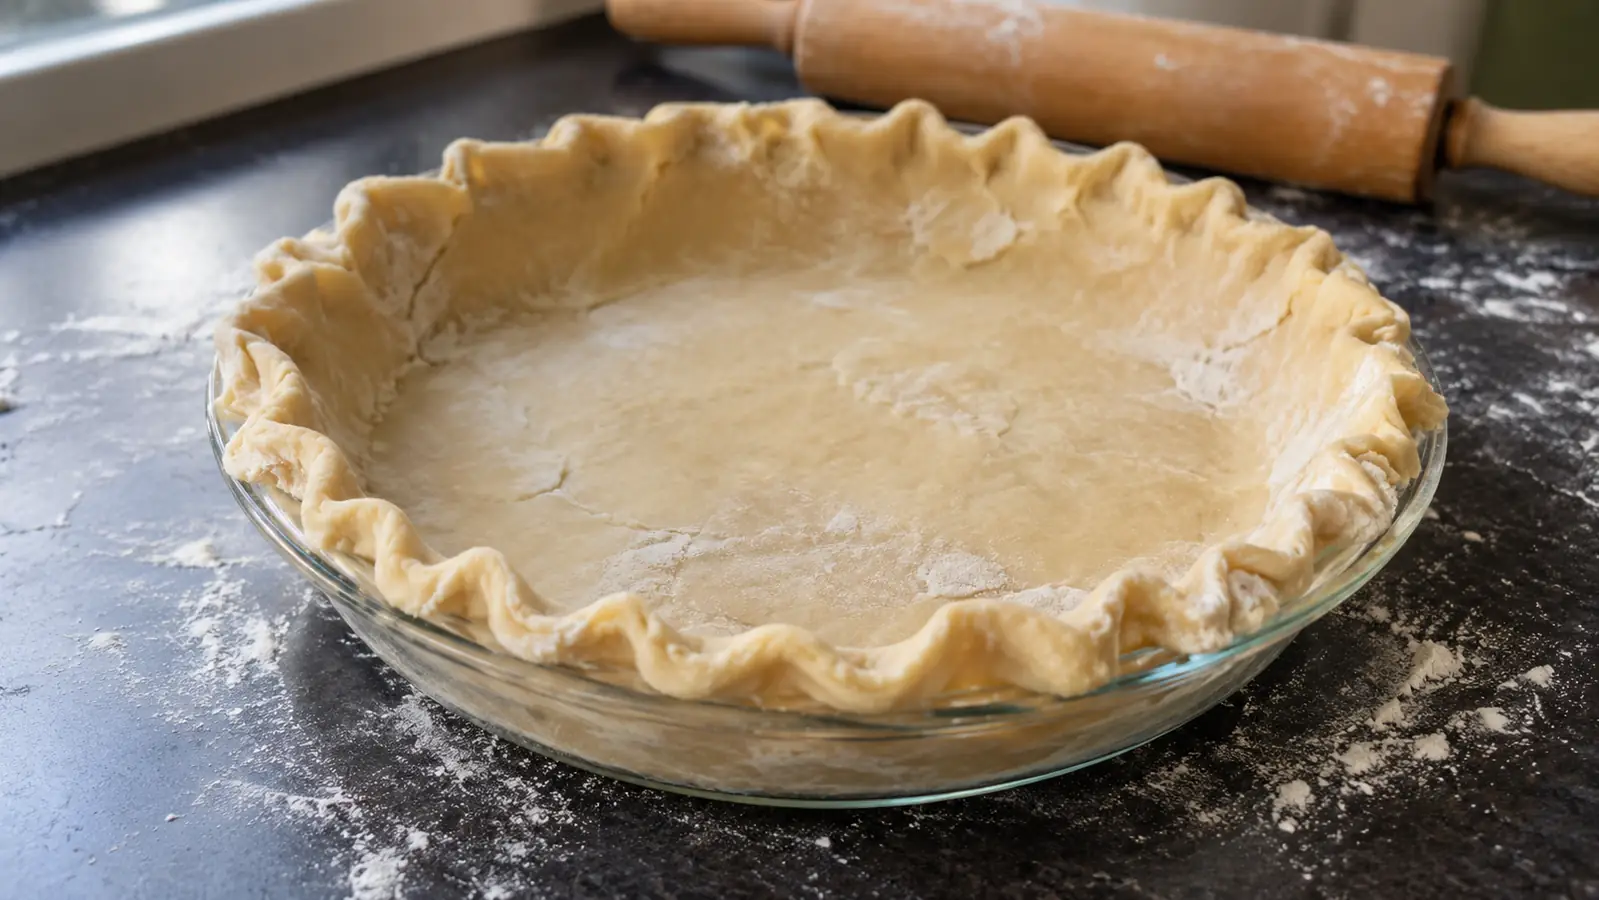
Loosen the round underneath with the scraper, working all the way around. Fold it in half, then in quarters, and lift it by the corners. Unfold it centered in the plate and ease it down into the corners with your fingertips. Ease, not stretch. A stretched crust shrinks in the oven and pulls away from the rim, and no amount of crimping fixes that afterward.
Trim the overhang with scissors or the back of a knife, leaving about an inch all around. Fold that inch under itself and crimp. The scraps you trimmed become the patch supply for the next round, or a few leaves on top of the pie if you are feeling decorative. If you are blind baking, dock the bottom with a fork before the plate goes into the refrigerator.
Then chill the lined plate for twenty minutes before it goes anywhere near the oven. My oven is a single 30-inch electric and it runs a little hot at the back, so I rotate the pie halfway through and set it on the lower-middle rack. A cold crust holds its shape and does not slump down the sides of the plate.
What Else Helps
The bench scraper does more for even pie dough than most people expect. It lifts a round without stretching it, it clears a stuck spot in one pass instead of five, and it cuts a patch to size in a second. If you do not have one, a thin metal spatula will get you through, badly, and you will notice the difference the first time you try to lift nine inches of dough with it.
A scale helps more than it sounds like it should. Weighing flour and water takes the guesswork out of how much liquid the dough actually needs, and dough at the right hydration is dough that rolls predictably. I weigh everything for pastry and I still use cups for rice. That split has held up for two years and I do not plan to change it.
Weather matters, especially here in a Baltimore summer. On a humid day, hold back a tablespoon of the water and chill the dough a little longer. On a dry January day, the opposite. If your kitchen runs warm, roll on a cold surface, or chill a sheet pan and roll on that. These are small adjustments, but they are the difference between a crust that behaves and one that sticks and tears no matter how careful you are with the pin.
Care for the pin is simple. Wipe it with a damp cloth, dry it immediately, and put it away. Do not soak it and do not put it in the dishwasher, because moisture-resistant is not the same as waterproof. Ten months of weekend pies have left mine smoother than the day it arrived, and it lives in the drawer under the oven where I can reach it with one hand.
Eight passes with a quarter turn between each one takes a chilled disc from an inch thick to an eighth of an inch, and every part of it gets rolled the same number of times. That is the whole method.
Even crusts start with a pin that stays level across the round
The Farberware classic wood rolling pin: 17.5 inches, about a pound, balanced end to end, with handles that keep your wrists straight so the press comes from your shoulders. Ten months of weekend pies and it still rolls a round flat from edge to edge without dragging.
Amazon Check Today's Price on Amazon →